Add a Date Field PDF Papers For Free
How it works
-
Import your Papers Online from your device or the cloud, or use other available upload options.
-
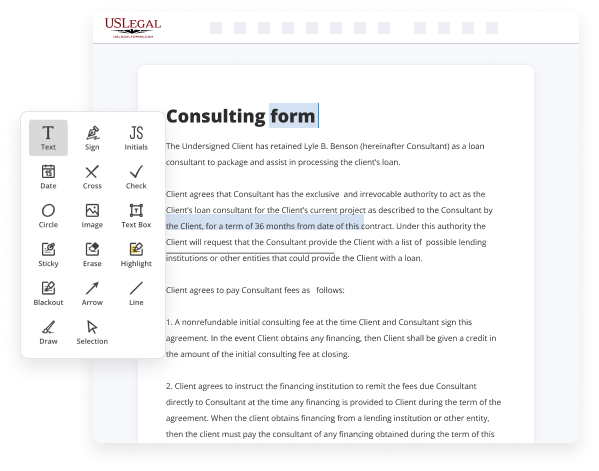
Make all necessary changes in your paperwork — add text, checks or cross marks, images, drawings, and more.
-

Sign your Papers Online with a legally-binding electronic signature within clicks.
-
Download your completed work, export it to the cloud, print it out, or share it with others using any available methods.
How to Add a Date Field PDF Papers For Free
Legal paperwork requires maximum precision and timely execution. While printing and completing forms normally takes plenty of time, online PDF editors demonstrate their practicality and efficiency. Our service is at your disposal if you’re looking for a reputable and straightforward-to-use tool to Add a Date Field PDF Papers For Free quickly and securely. Once you try it, you will be amazed at how effortless dealing with official paperwork can be.
Follow the guidelines below to Add a Date Field PDF Papers For Free:
- Upload your template through one of the available options - from your device, cloud, or PDF catalog. You can also import it from an email or direct URL or through a request from another person.
- Use the top toolbar to fill out your document: start typing in text areas and click on the box fields to select appropriate options.
- Make other required changes: add pictures, lines, or icons, highlight or delete some details, etc.
- Use our side tools to make page arrangements - add new sheets, change their order, delete unnecessary ones, add page numbers if missing, etc.
- Add extra fields to your document requesting various types of data and place watermarks to protect the contents from unauthorized copying.
- Verify if things are true and sign your paperwork - create a legally-binding electronic signature in your preferred way and place the current date next to it.
- Click Done once you are ready and decide where to save your form - download it to your device or export it to the cloud in whatever file format you need.
- Share a copy with other people or send it to them for approval through email, a signing link, SMS, or fax. Request online notarization and get your form quickly witnessed.
Imagine doing all of that manually on paper when even a single error forces you to reprint and refill all the details from the beginning! With online solutions like ours, things become considerably easier. Give it a try now!

Benefits of Editing Papers Online Online
Top Questions and Answers
How to create an interactive date field with a date picker in a... Open form editing mode by going to Forms -> Create/Edit Forms. Click on a text field icon on toolbar and put it in your document. Right click on text field -> select Properties. Change to Format tab. Select Date/Time format on the dropdown box.
Video Guide to Add a Date Field PDF Papers For Free
Hi Everyone! This is Sharon, and today I'm going to show you how to create interactive fillable PDF forms in Adobe Acrobat. We'll cover how to create a new PDF form in Adobe Acrobat from scratch, or from a Word document. Then we'll add PDF fillable form Fields like text boxes, drop-down lists and check boxes. Then we're going to
Cover some more advanced fillable form making techniques in Adobe Acrobat Pro like setting up calculating form fields and using action buttons to reset your form. You can use these same methods on both Mac and PC let's take a look. First let's open Adobe Acrobat. I have a license to use Adobe Acrobat Pro through my Creative Cloud account
Tips to Add a Date Field PDF Papers For Free
- Open your PDF document in a PDF editor that supports form fields.
- Select the option to add a form field or edit the document.
- Choose 'Date Field' from the options available.
- Click on the area in the document where you want the date field to appear.
- Adjust the size and position of the date field as needed.
- Set properties for the date field, such as format (e.g., DD/MM/YYYY).
- Save your changes to the PDF document to retain the date field.
Adding a date field in a PDF can be very useful when you're creating forms that require users to input dates, such as for contracts, applications, or reports.
Drag it to the designated place in your form. 3. Click the Tools tab and under Prepare Form, click Open. Step 3: Access the upper left menu bar and click on "Form Creator," then select "Date Field. Go to properties and format and bring down the format of a date, and that format will work in your newly created pdf from a word document. Click Custom Stamp to tailor a new date stamp. In the new window, you can choose a favored format, font color, size, etc. Insert a date field. Format the date field if necessary. You can set the "Today" field to print only and add a script to the "Did Print" action to clear the field after printing. PDF Studio is capable of creating an Date Field button to allow users to insert Date Fields into the PDF document when completing a form.
Industry-leading security and compliance
-
In businnes since 1997Over 25 years providing professional legal documents.
-
Accredited businessGuarantees that a business meets BBB accreditation standards in the US and Canada.
-
Secured by BraintreeValidated Level 1 PCI DSS compliant payment gateway that accepts most major credit and debit card brands from across the globe.
-
VeriSign secured#1 Internet-trusted security seal. Ensures that a website is free of malware attacks.