Add Dropdown Menu Fields Word Debt Relief Templates For Free
How it works
-
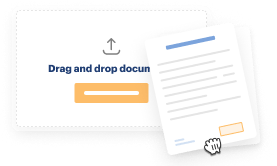
Import your Debt Relief Forms from your device or the cloud, or use other available upload options.
-
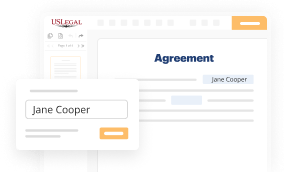
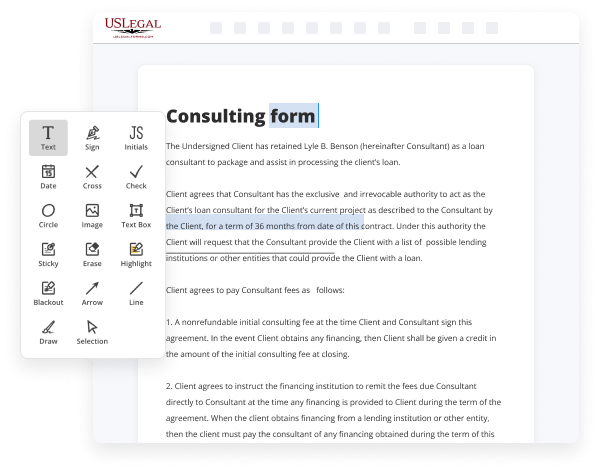
Make all necessary changes in your paperwork — add text, checks or cross marks, images, drawings, and more.
-
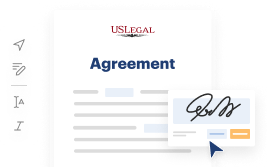
Sign your Debt Relief Forms with a legally-binding electronic signature within clicks.
-
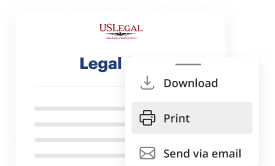
Download your completed work, export it to the cloud, print it out, or share it with others using any available methods.
How to Add Dropdown Menu Fields Word Debt Relief Templates For Free
Online PDF editors have proved their trustworthiness and efficiency for legal paperwork execution. Use our secure, fast, and user-friendly service to Add Dropdown Menu Fields Word Debt Relief Templates For Free your documents whenever you need them, with minimum effort and maximum accuracy.
Make these simple steps to Add Dropdown Menu Fields Word Debt Relief Templates For Free online:
- Import a file to the editor. You can choose from several options - upload it from your device or the cloud or import it from a form library, external URL, or email attachment.
- Complete the blank fields. Put the cursor on the first empty field and make use of our editor’s navigation to move step-by-step to avoid missing anything on your template. Use Text, Initials, Cross, and Check features.
- Make your necessary edits. Update the form with inserted pictures, draw lines and signs, highlight significant components, or erase any unnecessary ones.
- Create additional fillable fields. Adjust the template with a new area for fill-out if neccessary. Make use of the right-side tool pane for this, place each field where you expect other participants to leave their data, and make the rest of the areas required, optional, or conditional.
- Arrange your pages. Delete sheets you don’t need any longer or create new ones while using appropriate button, rotate them, or change their order.
- Generate electronic signatures. Click on the Sign tool and choose how you’d insert your signature to the form - by typing your name, drawing it, uploading its image, or utilizing a QR code.
- Share and send for eSigning. End your editing using the Done button and send your copy to other people for approval through an email request, with a Link to Fill option, in an SMS or fax message. Request a quick online notarization if necessary.
- Save the file in the format you need. Download your document, save it to cloud storage in its present format, or convert it as you need.
And that’s how you can prepare and share any individual or business legal documentation in clicks. Try it now!

Benefits of Editing Debt Relief Forms Online
Top Questions and Answers
Step 1: Follow the steps in Part 1 to add a drop-down list in Word. Step 2: After adding the drop-down list, click on it and then click Properties. Step 3: In the Drop-Down List Properties dialog box, select the Allow multiple selections checkbox. Step 4: Click OK to close the Drop-Down List Properties dialog box.
Video Guide to Add Dropdown Menu Fields Word Debt Relief Templates For Free
Hi welcome to the channel and today I'm going to show you how to create a fillable form in word I'm going to show you how you can expose the developer tab why you need to expose the developer tab and how you insert a variety of different checkboxes text boxes and drop- down menus so the first thing to
Say is I have created this entire form in word and if you want to see how I've done that then skip ahead to the time stamp shown above and I'll give you the complete rundown of how I created this form so the first thing is you can see at the top here I've got my developer tab exposed

Tips to Add Dropdown Menu Fields Word Debt Relief Templates For Free
- Identify the specific categories or options you want to include in the dropdown menu fields.
- Navigate to the location in the Word document where you want to add the dropdown menu fields.
- Select the 'Developer' tab in the Word toolbar.
- Click on the 'Dropdown List Content Control' option to add a dropdown menu field.
- Enter the options you want to appear in the dropdown menu.
- Save your document to apply the changes.
- Test the dropdown menu fields to ensure they function correctly.
Adding dropdown menu fields in Word Debt Relief Templates can provide users with clear and organized options to choose from. This editing feature may be needed when creating documents that require users to select from predefined categories or choices to streamline the data entry process.
Related Searches
Modify your documents and Insert Dropdown Menu Fields from the Debt Settlement Agreement Template on any device without breaking a sweat. Modify your documents and Insert Dropdown Menu Fields to the Debt Settlement Agreement Template on any device without breaking a sweat. After you insert a drop-down list box on your form template, you must specify the values that you want to appear in it. Set up a custom field for debt statuses. Open the word document. Go to Files and then select Options. Learn how to create an incell Drop Down List in Excel using Data Validation. Simple and awesome examples, including dependent lists. Thanks for the heads up; this template is immensely helpful and actually very motivational. Eliminate debt fast with a Debt Snowball Spreadsheet.
Industry-leading security and compliance
-
In businnes since 1997Over 25 years providing professional legal documents.
-
Accredited businessGuarantees that a business meets BBB accreditation standards in the US and Canada.
-
Secured by BraintreeValidated Level 1 PCI DSS compliant payment gateway that accepts most major credit and debit card brands from across the globe.
-
VeriSign secured#1 Internet-trusted security seal. Ensures that a website is free of malware attacks.