Delete Fillable Fields Word Samples For Free
How it works
-
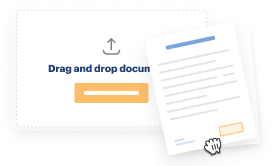
Import your Samples Online from your device or the cloud, or use other available upload options.
-
Make all necessary changes in your paperwork — add text, checks or cross marks, images, drawings, and more.
-
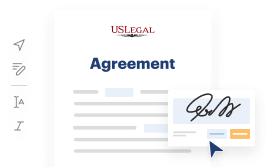
Sign your Samples Online with a legally-binding electronic signature within clicks.
-
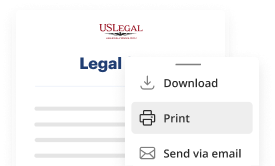
Download your completed work, export it to the cloud, print it out, or share it with others using any available methods.
How to Delete Fillable Fields Word Samples For Free
Online PDF editors have proved their reliability and effectiveness for legal paperwork execution. Use our safe, fast, and user-friendly service to Delete Fillable Fields Word Samples For Free your documents whenever you need them, with minimum effort and greatest accuracy.
Make these simple steps to Delete Fillable Fields Word Samples For Free online:
- Upload a file to the editor. You can select from several options - add it from your device or the cloud or import it from a form library, external URL, or email attachment.
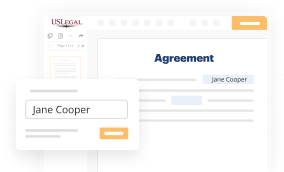
- Fill out the blank fields. Place the cursor on the first empty field and make use of our editor’s navigation to move step-by-step to prevent missing anything on your template. Use Text, Initials, Cross, and Check features.
- Make your necessary edits. Update the form with inserted pictures, draw lines and icons, highlight significant parts, or remove any unnecessary ones.
- Add more fillable fields. Adjust the template with a new area for fill-out if neccessary. Make use of the right-side tool pane for this, place each field where you want other participants to provide their data, and make the remaining areas required, optional, or conditional.
- Organize your pages. Delete sheets you don’t need anymore or create new ones utilizing the appropriate button, rotate them, or alter their order.
- Generate eSignatures. Click on the Sign tool and choose how you’d add your signature to the form - by typing your name, drawing it, uploading its picture, or utilizing a QR code.
- Share and send for eSigning. End your editing with the Done button and send your copy to other people for approval via an email request, with a Link to Fill option, in an SMS or fax message. Request a prompt online notarization if required.
- Save the file in the format you need. Download your paperwork, save it to cloud storage in its present format, or convert it as you need.
And that’s how you can prepare and share any personal or business legal documentation in clicks. Try it today!

Benefits of Editing Samples Online Online
Top Questions and Answers
Use the ResetFormFields method to clear fields when a document's fields are not locked. To clear fields when a document's fields are locked, use the Protect method.
Video Guide to Delete Fillable Fields Word Samples For Free
If you're using content control formfields to create your form you notice that there's that placeholder text that shows up as a light-gray for your users so that they know it prompts them to fill in the form field but sometimes you don't like that placeholder text to show up so there is a way that you can hide it
And I'm going to show you how to do that in this video be sure and check out the playlist on my channel for creating fillable forms alright in this example I have created a form that uses the content control form fields and this form field is actually one of the plain text form fields for content controls I'm
Related Features
Tips to Delete Fillable Fields Word Samples For Free
- Open your Word document that contains fillable fields.
- Go to the 'Developer' tab in the ribbon. If you don't see it, you can enable it from the Word options.
- Click on 'Design Mode' to make the fields editable.
- Click on the fillable field you want to delete to select it.
- Press the 'Delete' key on your keyboard to remove the selected fillable field.
- Repeat the process for any other fillable fields you wish to delete.
- Once you have finished, click 'Design Mode' again to exit editing mode.
- Save your document to keep the changes.
You may need to delete fillable fields in a Word document when you want to finalize the document or remove unnecessary parts before sharing it with others.
Assuming the document is not protected, just select them and press Delete. If the document is protected, you'll need to unprotect it first. Open the form template that contains the template part that you want to delete. I'm having issues deleting and selecting legacy form fields in ALL my world documents. I want to create fields of highlighted text that will automatically delete when clicked on, for convenience and ease. For example: Phase 1 results: 1,029. In order to remove the form fields, you first need to unlock the form. The following macro will then remove any form fields in the document. Click on the "Reset Form" button to clear all form fields. You can add fields or groups only to a form template's main data source.
Industry-leading security and compliance
-
In businnes since 1997Over 25 years providing professional legal documents.
-
Accredited businessGuarantees that a business meets BBB accreditation standards in the US and Canada.
-
Secured by BraintreeValidated Level 1 PCI DSS compliant payment gateway that accepts most major credit and debit card brands from across the globe.
-
VeriSign secured#1 Internet-trusted security seal. Ensures that a website is free of malware attacks.