Delete Pages From Electronic Option To Purchase Templates For Free
How it works
-
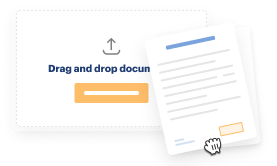
Import your Option To Purchase Forms from your device or the cloud, or use other available upload options.
-
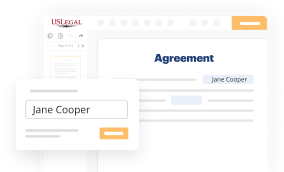
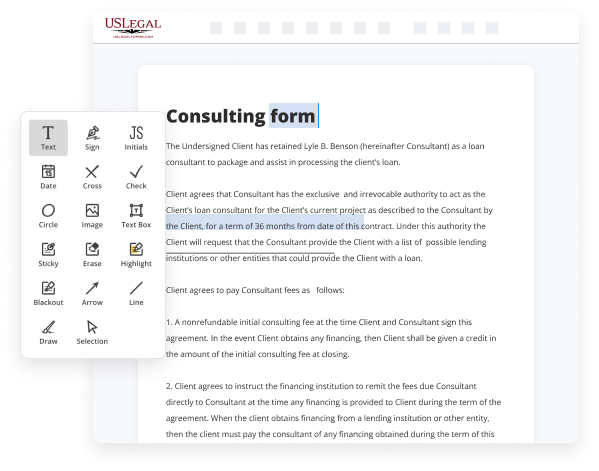
Make all necessary changes in your paperwork — add text, checks or cross marks, images, drawings, and more.
-
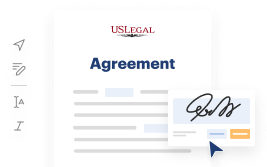
Sign your Option To Purchase Forms with a legally-binding electronic signature within clicks.
-
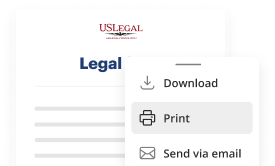
Download your completed work, export it to the cloud, print it out, or share it with others using any available methods.
How to Delete Pages From Electronic Option To Purchase Templates For Free
Are you tired of endless document printing, scanning, postal delivery, and spending precious time and resources with manual fill-out? The times have moved on, and the simplest way to Delete Pages From Electronic Option To Purchase Templates For Free and make any other essential changes to your forms is by handling them online. Select our quick and trustworthy online editor to complete, edit, and execute your legal documentation with greatest productivity.
Here are the steps you should take to Delete Pages From Electronic Option To Purchase Templates For Free quickly and effortlessly:
- Upload or import a file to the editor. Drag and drop the template to the upload area, import it from the cloud, or use another option (extensive PDF library, emails, URLs, or direct form requests).
- Provide details you need. Fill out blank fields using the Text, Check, and Cross tools from our top pane. Use our editor’s navigation to make sure you’ve filled in everything. Point out the most important facts with the Highlight option and erase or blackout fields with no value.
- Modify and rearrange the form. Use our upper and side toolbars to update your content, place extra fillable fields for various data types, re-order sheets, add new ones, or remove redundant ones.
- Sign and collect signatures. Whatever method you select, your eSignature will be legally binding and court-admissible. Send your form to others for approval using email or signing links. Notarize the paperwork right in our editor if it needs witnessing.
- Share and save the copy. Download or export your completed documentation to the cloud in the file format you need, print it out if you require a physical copy, and select the most suitable file-sharing option (email, fax, SMS, or sent by snail mail using the USPS).
With our service, you don’t have any more excuses to accomplish legal documents manually. Save time and effort executing them online twice as fast and more successfully. Try it out now!
Benefits of Editing Option To Purchase Forms Online
Top Questions and Answers
In the Pages pane, hold down CTRL and click to select one or more pages. Right-click the selection and choose Delete Pages? In the Delete Pages dialog, select the pages to extract.
Video Guide to Delete Pages From Electronic Option To Purchase Templates For Free
In this video i'm going to show a few ways to extract pages from a multi-page pdf the first way that i'm going to show assumes that you do not have a paid subscription for adobe acrobat pro on my screen here i have a pdf open and you can see i have it opened in adobe acrobat reader which
Is the free version i'm going to go ahead and find some pages that i want to extract i'm going to use the pages that have a picture of this little adapter here so pages 10 11 and we'll throw in page 12 as well and i'm not actually going to use acrobat reader to extract the pages so i'm

Related Features
Tips to Delete Pages From Electronic Option To Purchase Templates For Free
- Make sure you have the correct permissions to delete pages from the electronic option to purchase templates.
- Review the content of the page you want to delete to ensure it is no longer needed.
- Click on the 'Delete' or 'Trash' option next to the page you wish to remove.
- Confirm the deletion process to permanently remove the page from the template.
- Double check and make sure to save the changes after deleting the page.
The editing feature to delete pages from electronic option to purchase templates may be needed when you need to streamline the content, remove outdated information, or simply declutter the template to make it more user-friendly.
Related Searches
Open a PO line; Choose Save as template; Click on the dropdown list of Existing templates and select the template; Click the Delete button ... You can add or delete pages, and Master Pages, from Publisher publications. ... the Insert Page dialog box. Select the options you want, and then click OK. To delete a template, select it from the Templates folder in the Pages library, right-click the template, and click Delete. To delete an entire product, not just the digital file, you can delete it from the Products page. Steps: From the Digital Downloads app, click a product that ... Copy or delete a page · On a computer, open a site in new Google Sites. · At the right, click Pages. · On the page you want to duplicate or delete, click More More ... Select the check box by the checklist template you want to delete. In the actions choice list, select Delete, found at the bottom of the page. ACRIS E-TAX FORMS FREQUENTLY ASKED QUESTIONS (FAQ's) ... I can't edit my tax forms; my tax form status is ?In Use.? ... Why can't I delete my Cover Page? While browsing All Boards, tap the More button near the top-right corner, tap Select, then tap the boards you want to delete. (A checkmark appears as you select ... In this tutorial, you'll learn how to do all of this to turn any of our templates into your own presentation. Content. How to add a slide in Google Slides; How ... Day after the date the instrument is signed. In order for the certificate to take effect under option C, the entity must, within ninety (90) days of the filing ...
Industry-leading security and compliance
-
In businnes since 1997Over 25 years providing professional legal documents.
-
Accredited businessGuarantees that a business meets BBB accreditation standards in the US and Canada.
-
Secured by BraintreeValidated Level 1 PCI DSS compliant payment gateway that accepts most major credit and debit card brands from across the globe.
-
VeriSign secured#1 Internet-trusted security seal. Ensures that a website is free of malware attacks.