Insert Pages To Online Personal Templates For Free
How it works
-
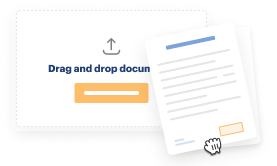
Import your Personal Forms from your device or the cloud, or use other available upload options.
-
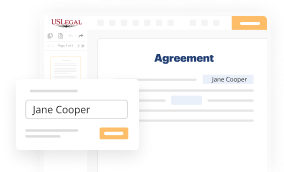
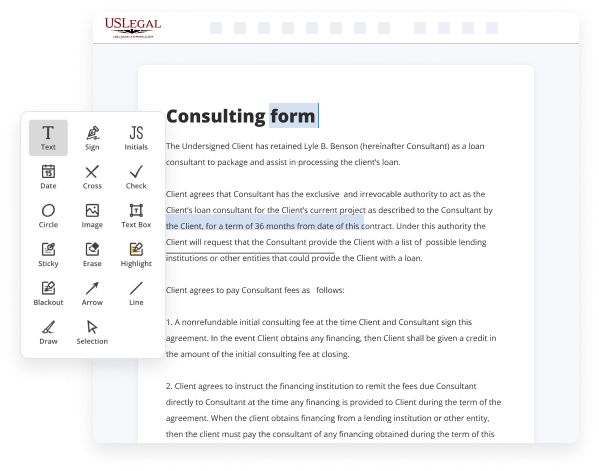
Make all necessary changes in your paperwork — add text, checks or cross marks, images, drawings, and more.
-
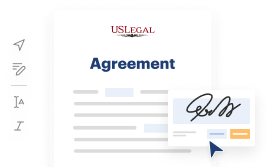
Sign your Personal Forms with a legally-binding electronic signature within clicks.
-
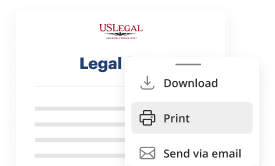
Download your completed work, export it to the cloud, print it out, or share it with others using any available methods.
How to Insert Pages To Online Personal Templates For Free
Are you tired of constant document printing, scanning, postal delivery, and spending precious time and resources with manual fill-out? The times have moved on, and the easiest way to Insert Pages To Online Personal Templates For Free and make any other essential changes to your forms is by managing them online. Take advantage of our quick and secure online editor to fill out, modify, and execute your legal documentation with greatest efficiency.
Here are the steps you should take to Insert Pages To Online Personal Templates For Free quickly and effortlessly:
- Upload or import a file to the editor. Drag and drop the template to the upload area, import it from the cloud, or use an alternative option (extensive PDF library, emails, URLs, or direct form requests).
- Provide the required information. Complete empty fields using the Text, Check, and Cross tools from our upper pane. Use our editor’s navigation to make sure you’ve completed everything. Accentuate the most significant details with the Highlight option and erase or blackout areas with no value.
- Modify and rearrange the form. Use our upper and side toolbars to change your content, drop extra fillable fields for different data types, re-order pages, add new ones, or delete unnecessary ones.
- Sign and request signatures. No matter which method you choose, your eSignature will be legally binding and court-admissible. Send your form to other people for signing through email or signing links. Notarize the paperwork right in our editor if it needs witnessing.
- Share and save the copy. Download or export your completed documentation to the cloud in the file format you need, print it out if you require a physical copy, and choose the most suitable file-sharing method (email, fax, SMS, or delivered by snail mail using the USPS).
With our service, you don’t have any more excuses to accomplish legal documents manually. Save time and effort executing them online twice as fast and more efficiently. Give it a try now!
Benefits of Editing Personal Forms Online
Top Questions and Answers
Save a document as a template Choose File > Save as Template (from the File menu at the top of your screen). Click an option: Add to Template Chooser: Type a name for the template, then press Return. Your template appears in the My Templates category in the template chooser.
Video Guide to Insert Pages To Online Personal Templates For Free
Hey guys welcome to my channel so today we're doing a canva tutorial on how to create templates and sell them online for passive income even if you're a beginner to canva this tutorial will be step by step how to create the template and how to actually go to sell it now before we hop onto my computer if
You're new here and you want to learn all about making passive income be sure to subscribe to my channel and hit that notification bell so you don't miss my weekly videos i've created and sold digital products online for about a year now and i love giving you guys advice on how you can get started on your digital

Tips to Insert Pages To Online Personal Templates For Free
- 1. Choose a reputable online personal template platform.
- 2. Locate the 'Insert Pages' option on the template editor.
- 3. Click on 'Insert Pages' to add a new page to your template.
- 4. Customize the new page by adding text, images, or other elements.
- 5. Save your changes to ensure the new page is included in your template.
The editing feature for inserting pages to online personal templates may be needed when you want to expand the content of your template or add specific information to personalize it further. This feature allows you to create a cohesive and comprehensive document that meets your specific needs.
Related Searches
Choose File > New, then double-click the custom template you want to use as the basis for a new template. Custom templates appear in the My Templates category ... Open Pages, choose File > New, then double-click the template you want to use as the basis for a new template. Custom templates appear in the My Templates ... Go to a custom template from the Template pane · Select New and then Page at the top of your site. The Template pane will display. · Select the vertical ellipses ... The easiest way to do this (for Word 2013-2021) is to add the template into the "Custom Office Templates" folder in the documents folder. This ... How to set your custom template as a default page template in SharePoint Online · Gear Icon > Add a page Setpagetemplatedefault2 · Click 3 dots ... Once the customizer loads in, click the drop-down at the top of the screen and select Pages > Create Template. Clicking on create template under pages in the ... Steps: · From your Shopify admin, go to Online Store > Themes. · Find the theme that you want to edit, and then click Customize · Open the page selector at the top ... Editing a template applies the changes to every page that uses that page template. ... You can edit your templates to add sections to your online store. Save a document as a template · Choose File > Save as Template (from the File menu at the top of your computer screen). · Click an option: Add to Template Chooser ... Space administrators can create their own custom page templates in ... custom templates by adding a description that will appear in the template gallery.
Industry-leading security and compliance
-
In businnes since 1997Over 25 years providing professional legal documents.
-
Accredited businessGuarantees that a business meets BBB accreditation standards in the US and Canada.
-
Secured by BraintreeValidated Level 1 PCI DSS compliant payment gateway that accepts most major credit and debit card brands from across the globe.
-
VeriSign secured#1 Internet-trusted security seal. Ensures that a website is free of malware attacks.