Notice Meeting Corporate Without Sending Update In Bexar
Description
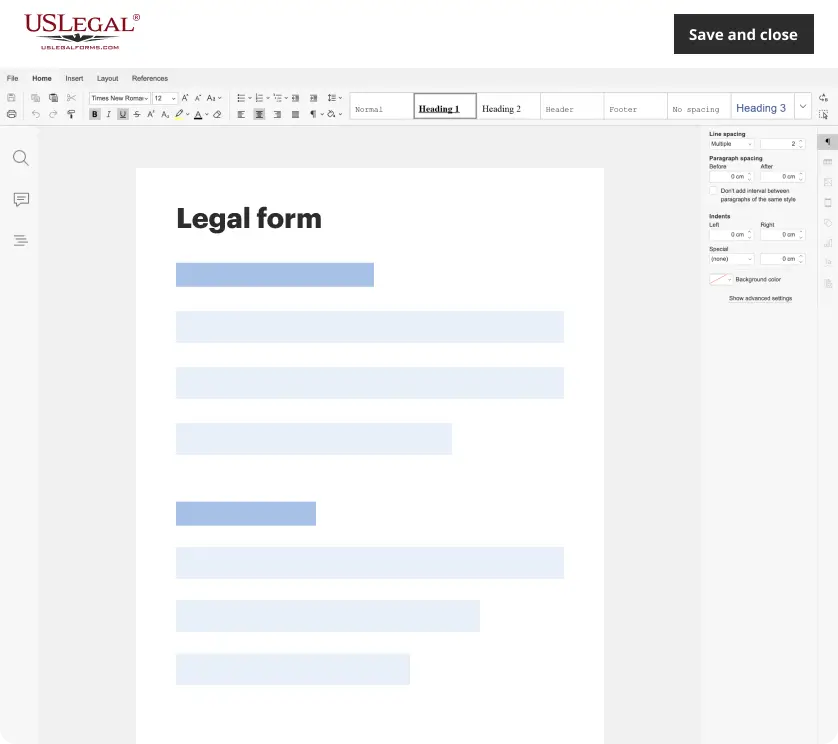
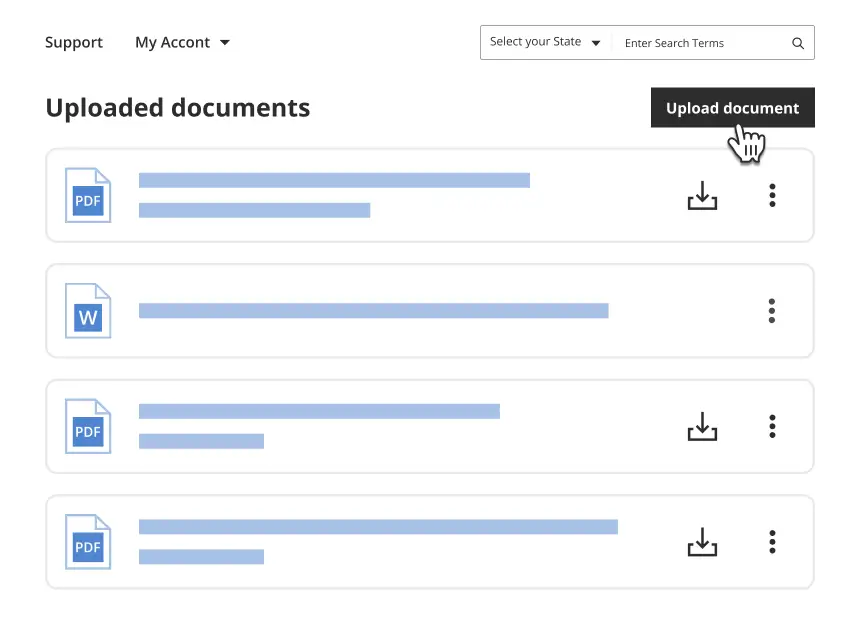
Get your form ready online
Our built-in tools help you complete, sign, share, and store your documents in one place.
Make edits, fill in missing information, and update formatting in US Legal Forms—just like you would in MS Word.
Download a copy, print it, send it by email, or mail it via USPS—whatever works best for your next step.
Sign and collect signatures with our SignNow integration. Send to multiple recipients, set reminders, and more. Go Premium to unlock E-Sign.
If this form requires notarization, complete it online through a secure video call—no need to meet a notary in person or wait for an appointment.
We protect your documents and personal data by following strict security and privacy standards.
Make edits, fill in missing information, and update formatting in US Legal Forms—just like you would in MS Word.
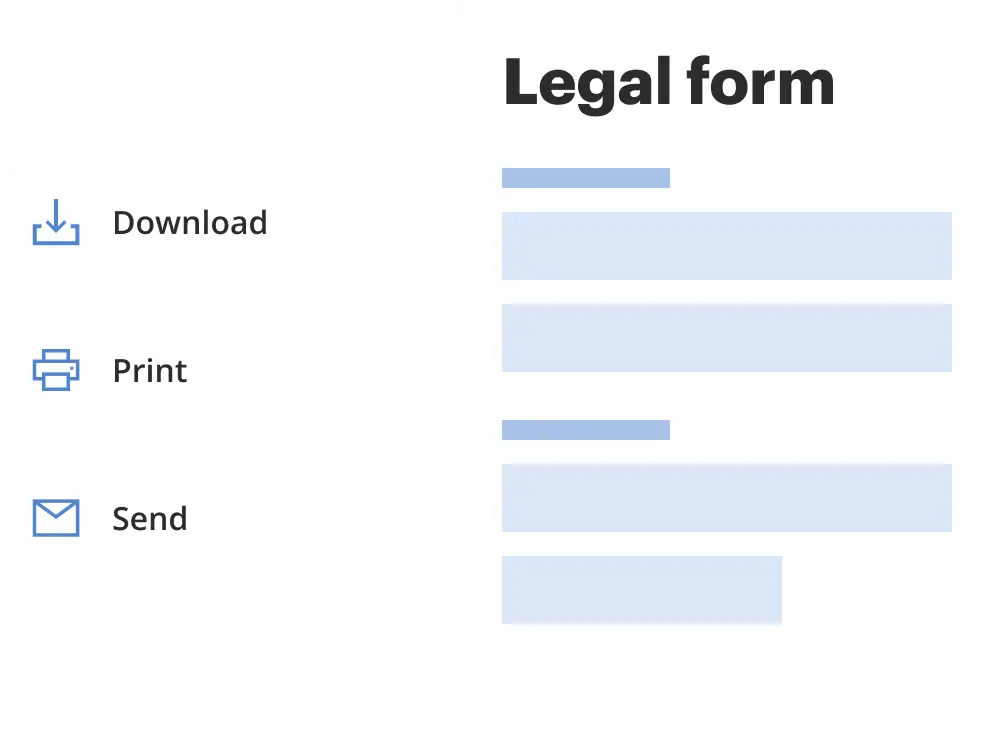
Download a copy, print it, send it by email, or mail it via USPS—whatever works best for your next step.
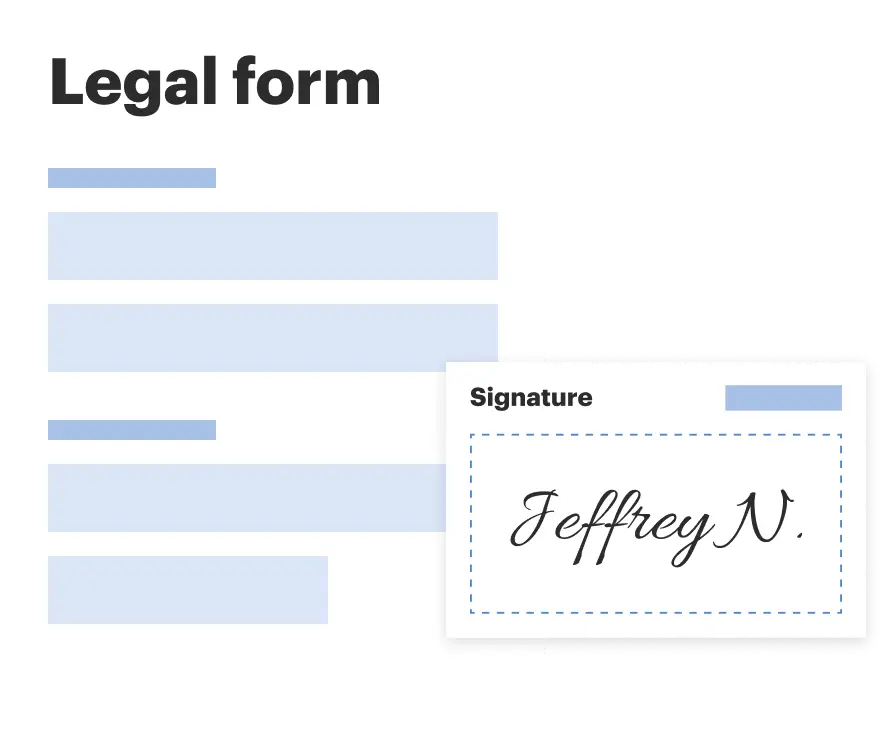
Sign and collect signatures with our SignNow integration. Send to multiple recipients, set reminders, and more. Go Premium to unlock E-Sign.
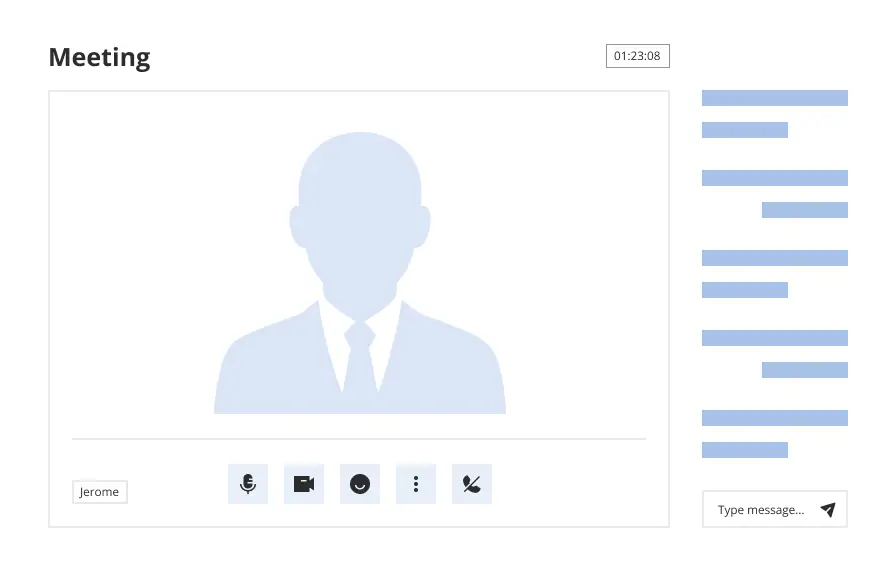
If this form requires notarization, complete it online through a secure video call—no need to meet a notary in person or wait for an appointment.
We protect your documents and personal data by following strict security and privacy standards.
Looking for another form?
Form popularity
FAQ
Expert-Verified Answer Step 1: Open the meeting invite in Outlook. Step 2: Click on the 'To' or 'Scheduling Assist' button to open the list of current attendees. Step 3: Add the new attendee's email address directly into the 'To' field without removing existing ones.
On your computer, open Google Calendar. Create an event. Optional: Enter the title, time, guests, and other details. Click Add description or attachments Create meeting notes. Save.
Save a meeting as a draft in classic Outlook Select Calendar from the navigation and select New Appointment. Fill out the details and if you didn't add any attendees, select Save & Close. From the pop-up window, select one of the options such as Save changes but don't send. Select OK.
In the “Send Update to Attendees” dialog box, choose “Send updates only to added or deleted attendees” and click “OK.”
Save meeting changes but don't send updates with Save feature Double click to open the meeting, and make any changes as you need. Click the Save button and the Close button successively on the Quick Access Toolbar. See screenshot: Note: This method works well when you change the meeting note only.
Switch to "Save" Instead of "Send":Make the necessary changes to the event. Instead of clicking "Send Update," click on the "Save" button or use the "X" button to close the event window. Choose Not to Send Updates: A prompt will appear asking if you want to send updates to attendees. Select "Don't send."
Open the calendar event in Outlook. Make the necessary changes to your meeting. Instead of sending the update to all attendees, select either "Save" or "Save and Close" depending on your version of Outlook.
When you initially send the meeting request, if you didn't turn off the response option, you can change the option at any time. Open the meeting. On the Meeting Ribbon. In the Attendees group, click Responses. Uncheck Request Responses.
Remove all attendees from the meeting. Click 'Save & Close. ' This saves the changes and closes the meeting window. Open the meeting again; this time, it should show no attendees. Click 'Cancel Meeting' on the toolbar. Since there are no attendees, no cancellation notification will be sent.
The changes will still be saved, but no update will be sent.