Donation Receipt Format In Excel In Dallas
Description
Get your form ready online
Our built-in tools help you complete, sign, share, and store your documents in one place.
Make edits, fill in missing information, and update formatting in US Legal Forms—just like you would in MS Word.
Download a copy, print it, send it by email, or mail it via USPS—whatever works best for your next step.
Sign and collect signatures with our SignNow integration. Send to multiple recipients, set reminders, and more. Go Premium to unlock E-Sign.
If this form requires notarization, complete it online through a secure video call—no need to meet a notary in person or wait for an appointment.
We protect your documents and personal data by following strict security and privacy standards.
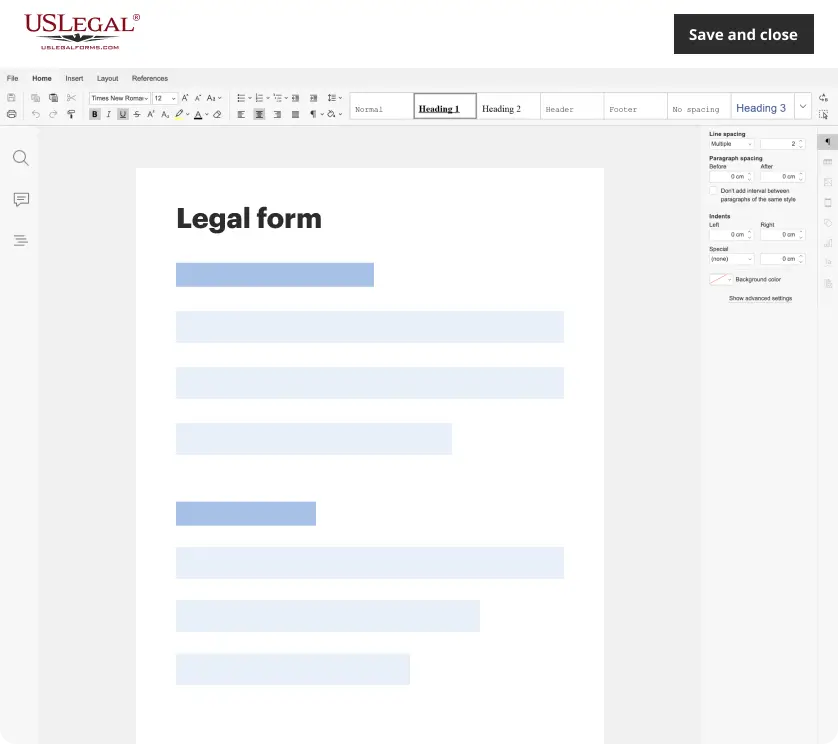
Make edits, fill in missing information, and update formatting in US Legal Forms—just like you would in MS Word.
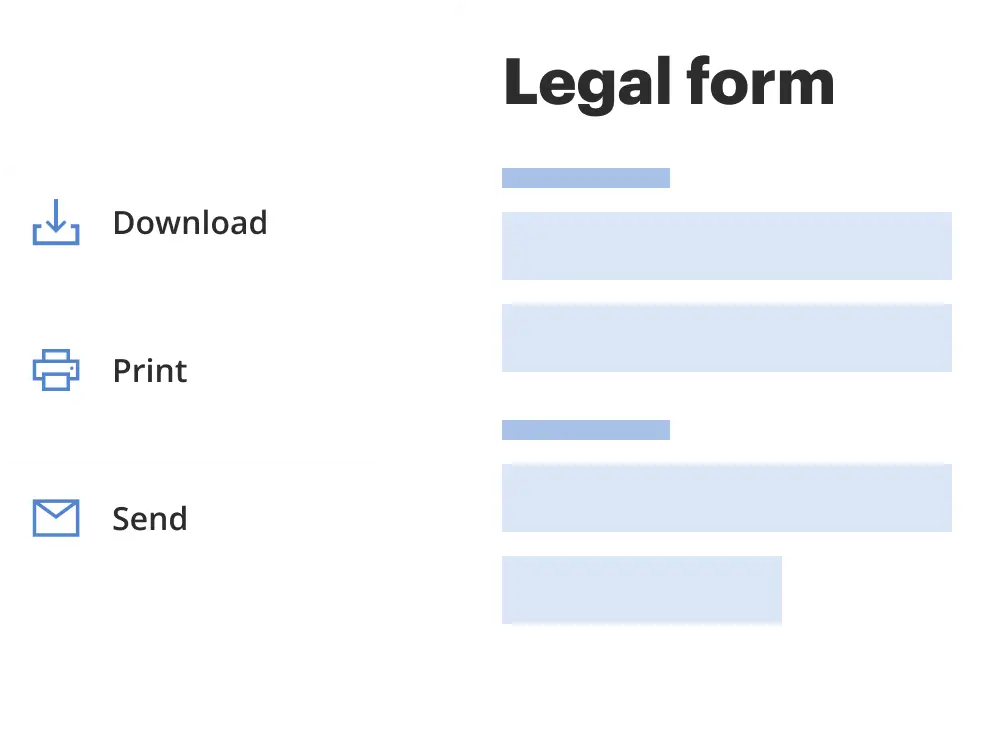
Download a copy, print it, send it by email, or mail it via USPS—whatever works best for your next step.
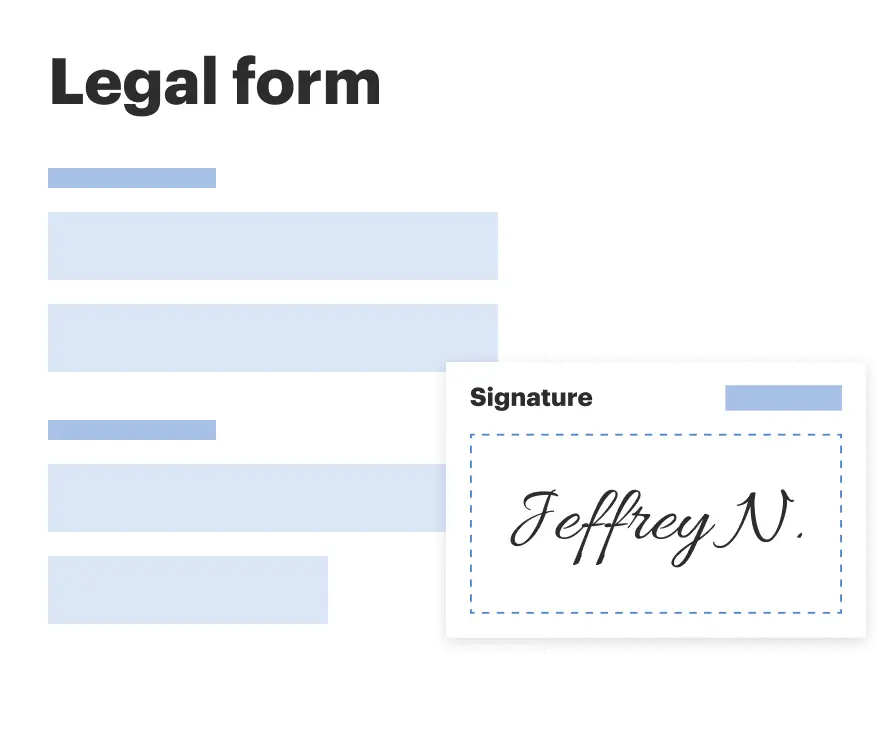
Sign and collect signatures with our SignNow integration. Send to multiple recipients, set reminders, and more. Go Premium to unlock E-Sign.

If this form requires notarization, complete it online through a secure video call—no need to meet a notary in person or wait for an appointment.
We protect your documents and personal data by following strict security and privacy standards.
Looking for another form?
Form popularity
FAQ
How to Scan Receipts Into Excel Step 1: Select Receipt Scanning App. Step 2: Upload Your Receipts. Step 3: Automatic Receipt Processing. Step 4: Download Receipt Data Into Excel. Step 5 (Optional): Scan Receipts Into ERP or Accounting Software.
But for DIY bookkeeping in Excel, you'll be doing it yourself. Get a record of the transaction. Enter the date the transaction was recorded under the Date column, using DD/YY/MM format. Categorize the transaction. Add any notes for yourself in the Description/Transaction column.
Using a template: Startup your Microsoft Excel and click on New. Type in “receipt” on the search bar to view the available templates. Click on the receipt template you want to use and select Create. Without a template: Create a Blank Workbook.
How to Scan Receipts Into Excel Step 1: Select Receipt Scanning App. Step 2: Upload Your Receipts. Step 3: Automatic Receipt Processing. Step 4: Download Receipt Data Into Excel. Step 5 (Optional): Scan Receipts Into ERP or Accounting Software.
How to make an Excel invoice from scratch? Step 01: Open a blank worksheet in Excel. Step 02: Check off the gridlines. Step 03: Add header. Step 04: Add invoice date, due date, and invoice number. Step 05: Add the client's details. Step 06: Create an itemized list. Step 07: Total the amount using “AutoSum”
You can create professional looking invoices with a template that you can customize for your business. Fill it out in Word or Excel and send it electronically as a PDF or print it. Find Word and Excel templates for: Invoices.
Excel's Power Query provides fantastic opportunities for business professionals to automate many reporting processes and practices. Ranging from simple queries to sophisticated data transformations, you can use Power Query to automatically handle many time-consuming tasks.
An Excel receipt is a template that businesses can use to create customer sales receipts for products purchased or services rendered.