Example Of An Application Letter With Two Addresses In Texas - Sample Letter for Speaking Engagement
Description

Form popularity
FAQ
Note there are 6 steps. Step 1 – Select Document Type. 1) Click Letters for the document type. Step 2 – Select Starting Document. Step 3 – Select Recipients. Step 4 – Write Your Letter. Step 5 – Preview Your Letters. Step 6 – Complete the Merge. Step 1 – Select Document Type. Step 2 – Select Starting Document.
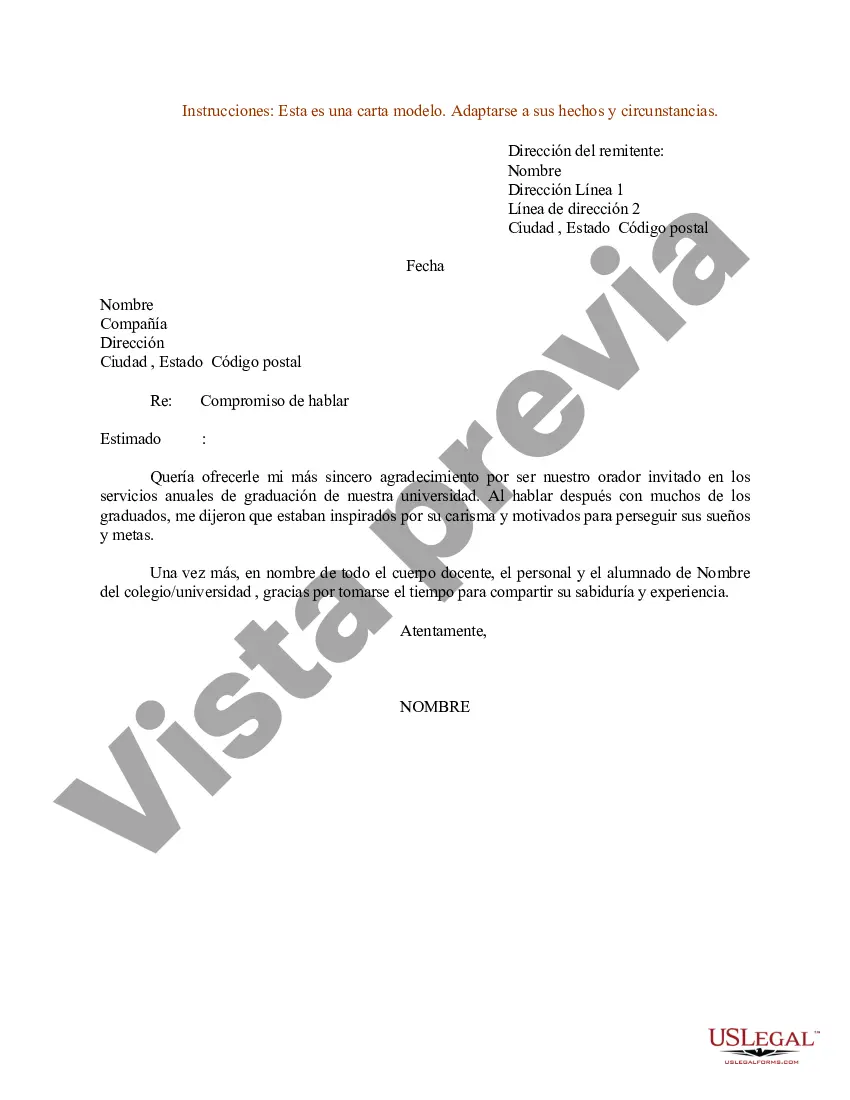
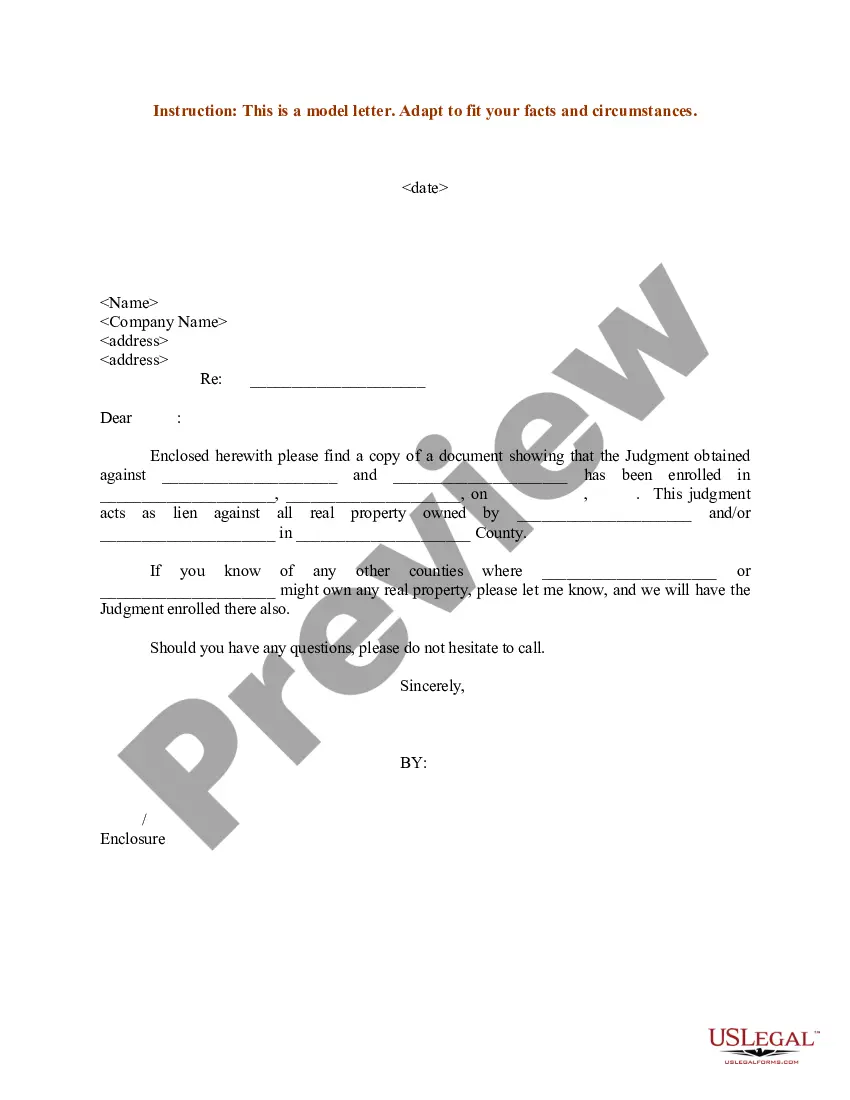
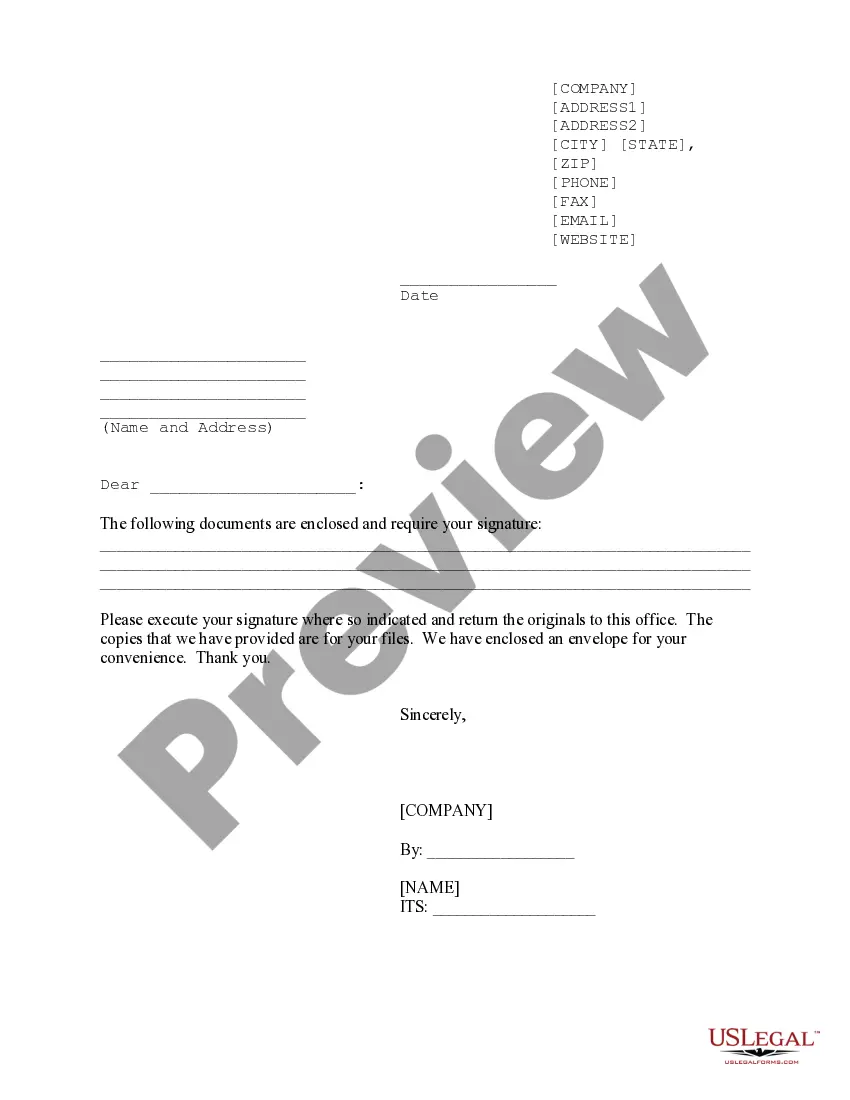
Your letter should be professionally formatted with your name, address, phone number, and email address in the top left. On the next line down, add the date, followed by the name and address of the recipient. As with any document, you begin writing the cover letter with 'Dear Name' on the left of the page.
When addressing an envelope, include both the sender's address and the recipient's address. Write the sender's name and address in the upper left-hand corner. Write the company name if you're sending from a business. The recipient's name and address should be placed on the center of the letter.
It can be done by using both their names in the greeting, such as 'Dear John and Sarah,' or by addressing them both in the body of the email. It ensures both recipients know that the message is intended for them and helps avoid confusion or misunderstandings.
If both names fit on one line, you can separate the names with "and." If the names are too long to fit on one line, write them on two separate lines and exclude the word "and." The order of the names being addressed is up to individual preference, but it is common practice to use the man's name first, or to list the ...
Over one address: When sending a letter to multiple recipients at multiple locations, it's often best to send each of your recipients an individual copy that includes only their name and address. Consider including a "cc: " after the names of your recipients to inform them of who else has received the letter.