Sample Acknowledgement Receipt For Rental Payment In Arizona
Description
Get your form ready online
Our built-in tools help you complete, sign, share, and store your documents in one place.
Make edits, fill in missing information, and update formatting in US Legal Forms—just like you would in MS Word.
Download a copy, print it, send it by email, or mail it via USPS—whatever works best for your next step.
Sign and collect signatures with our SignNow integration. Send to multiple recipients, set reminders, and more. Go Premium to unlock E-Sign.
If this form requires notarization, complete it online through a secure video call—no need to meet a notary in person or wait for an appointment.
We protect your documents and personal data by following strict security and privacy standards.
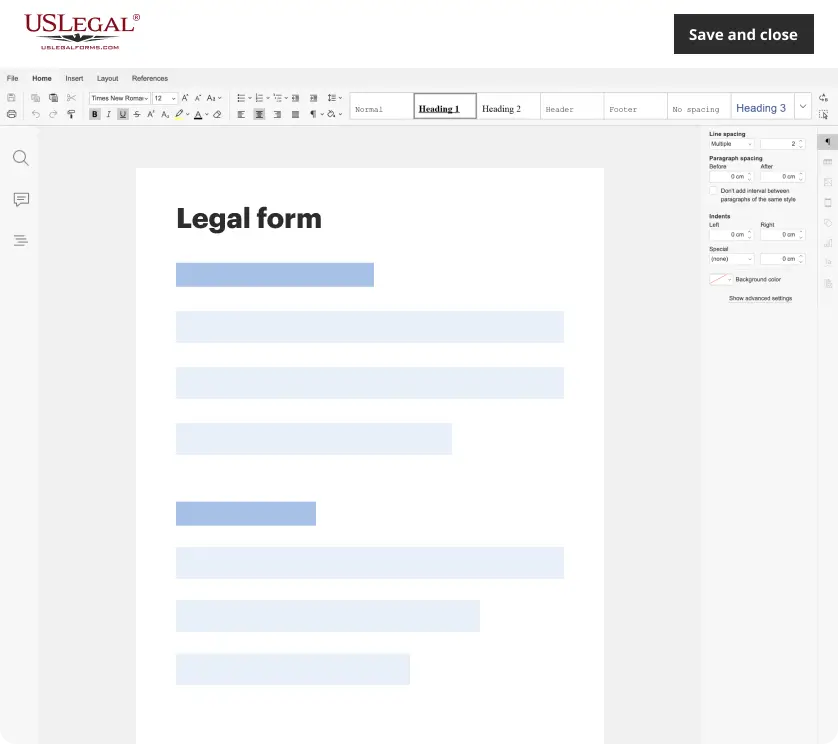
Make edits, fill in missing information, and update formatting in US Legal Forms—just like you would in MS Word.
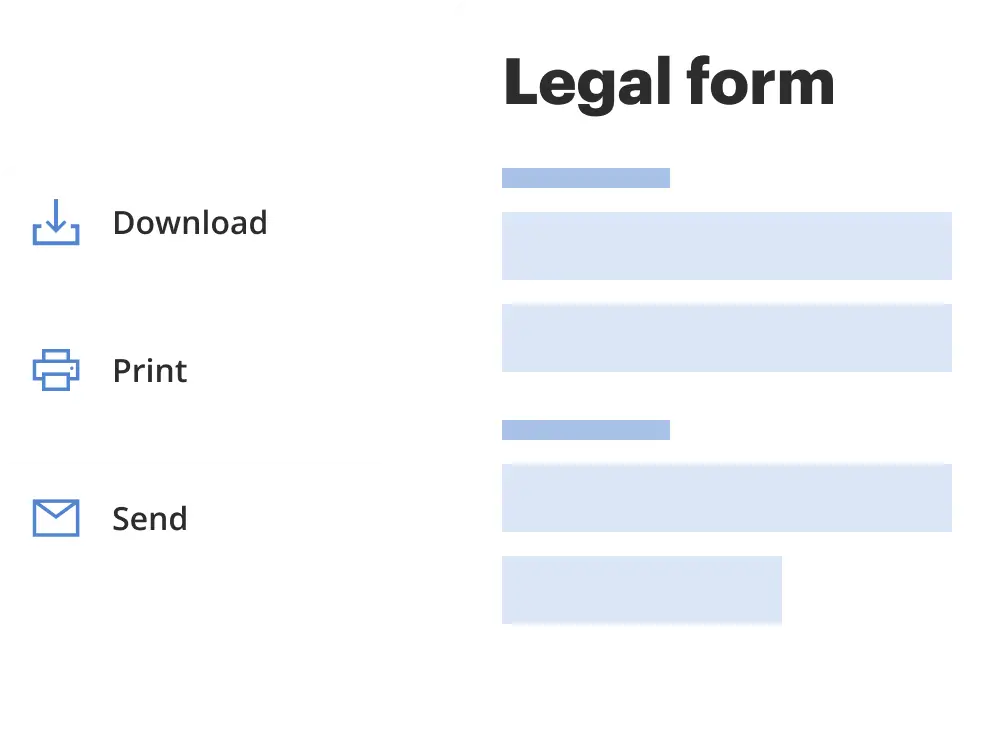
Download a copy, print it, send it by email, or mail it via USPS—whatever works best for your next step.
Sign and collect signatures with our SignNow integration. Send to multiple recipients, set reminders, and more. Go Premium to unlock E-Sign.
If this form requires notarization, complete it online through a secure video call—no need to meet a notary in person or wait for an appointment.
We protect your documents and personal data by following strict security and privacy standards.
Looking for another form?
Form popularity
FAQ
To Whom It May Concern, This letter is to certify that Tenant's Full Name currently resides at Full Address and has been living here since Date of Move-In. I am the landlord/owner of the property and can confirm that Tenant's Full Name is a resident at the above-mentioned address.
What to include on a receipt template Business information: The business name, address, contact details (e.g., phone number, email, website), business logo, and tax identification number (if applicable). Receipt information: The receipt number, transaction date, and transaction time (if relevant).
How to create an acknowledgment receipt Use a company letterhead. Use electronic or paper letterhead. Write acknowledgment statement. Referring to the document by name, version number if applicable and state that the recipient has received the document. Sign and date. Explain the next step. Provide contact information.
Here are the basic steps to create an acknowledgment receipt: Use a company letterhead. Give the receipt a title. Write the statement of acknowledgment. Create a place for signatures and the date of the transaction. Explain any next steps. Provide contact information for further questions.
Formal Please Acknowledge Receipt of This Email Sample Dear , I hope this message finds you well. Please acknowledge receipt of my previous email at your earliest convenience. Your prompt attention to this matter is greatly appreciated.
How to create an acknowledgment receipt Use a company letterhead. Use electronic or paper letterhead. Write acknowledgment statement. Referring to the document by name, version number if applicable and state that the recipient has received the document. Sign and date. Explain the next step. Provide contact information.
When writing a rent receipt, you should include: The date the payment was received. The tenant's full name. The full name of anyone else who made the payment on behalf of the tenant. The name of the landlord or property manager receiving the payment. The rental property address and unit number.
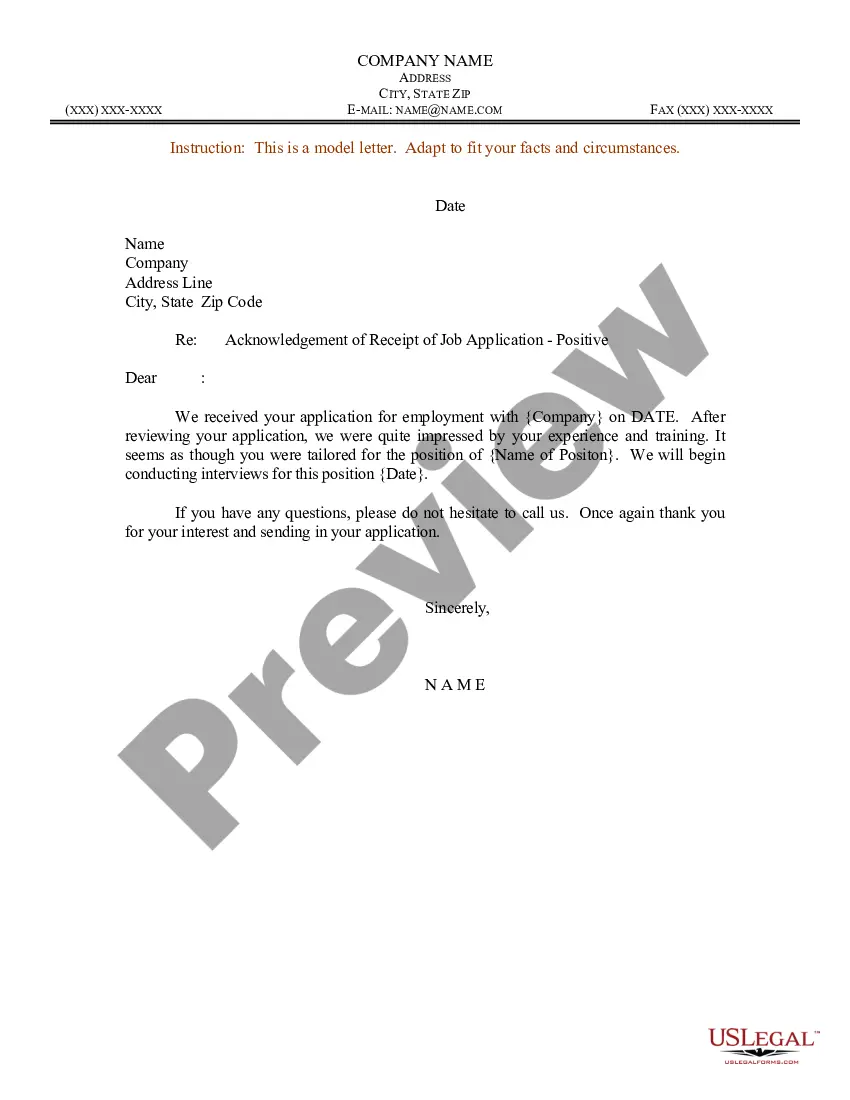
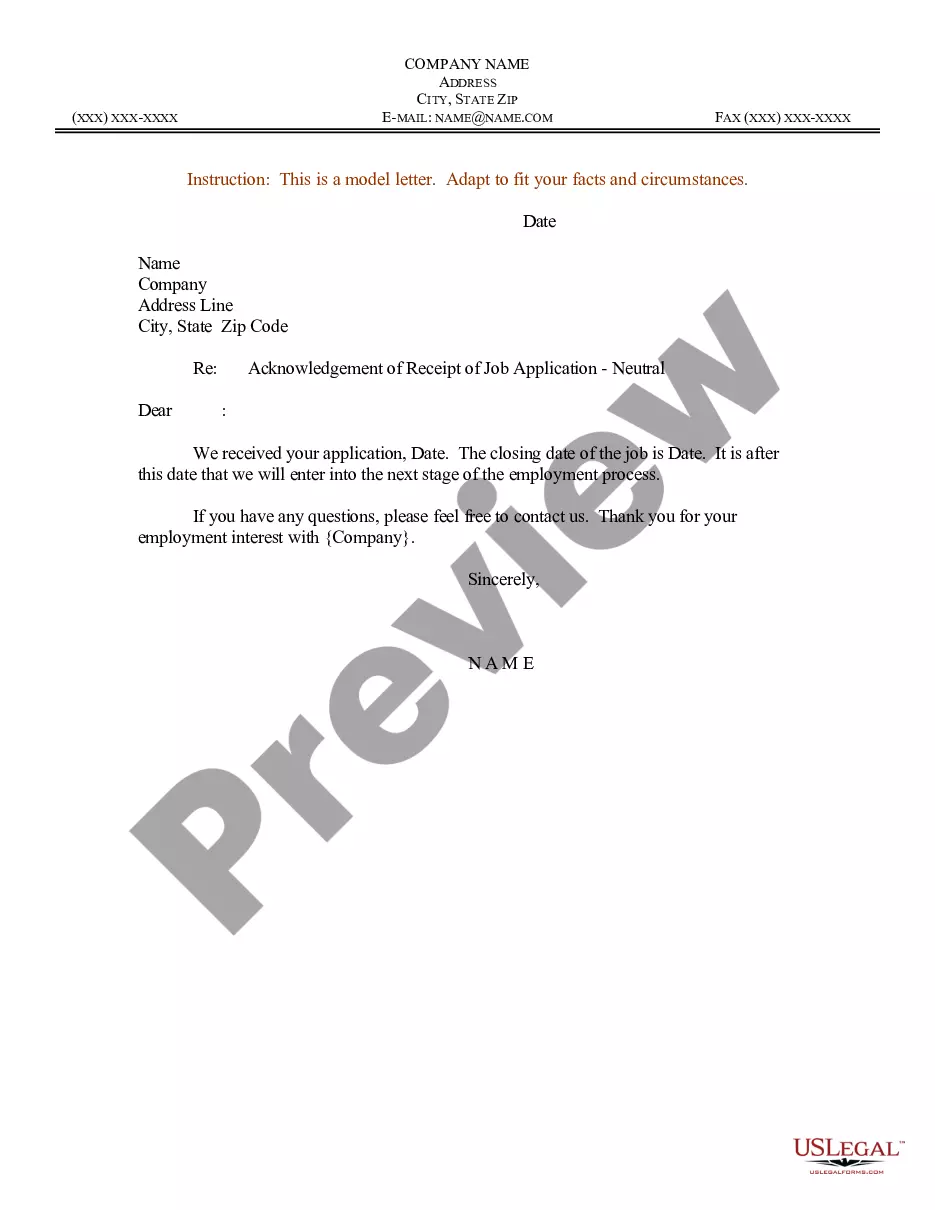
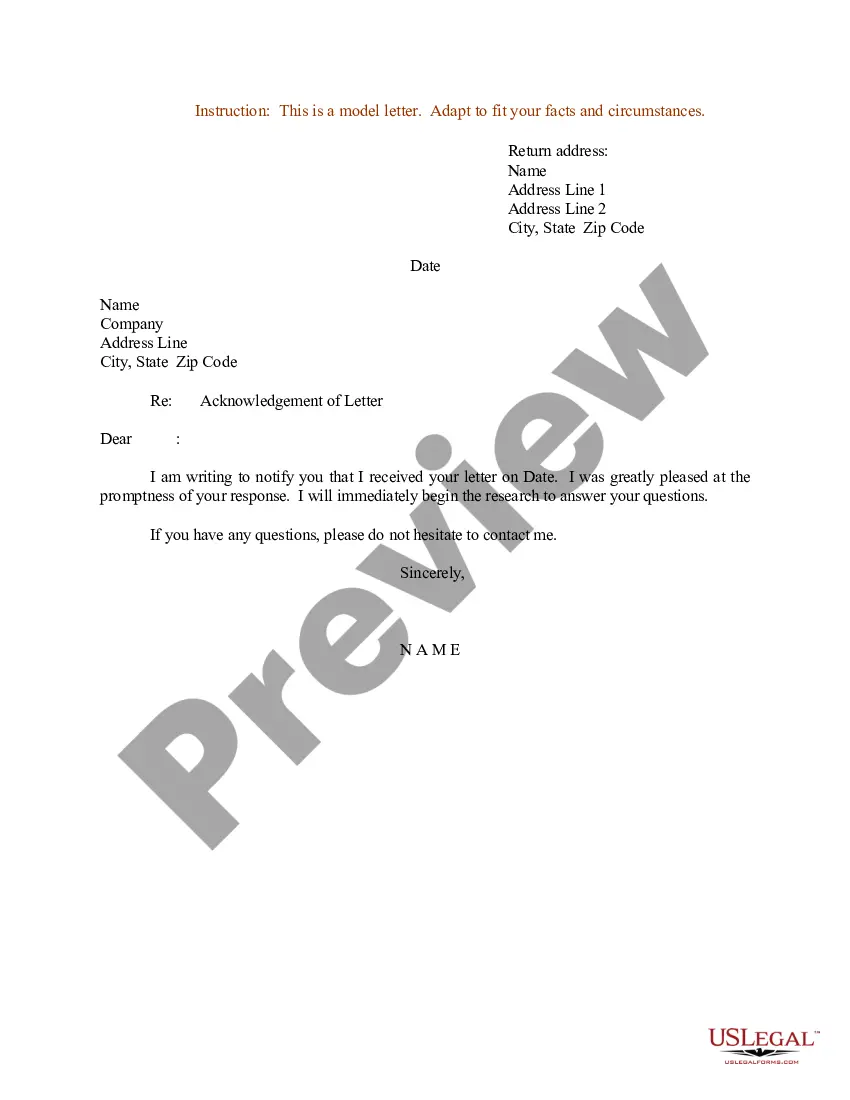
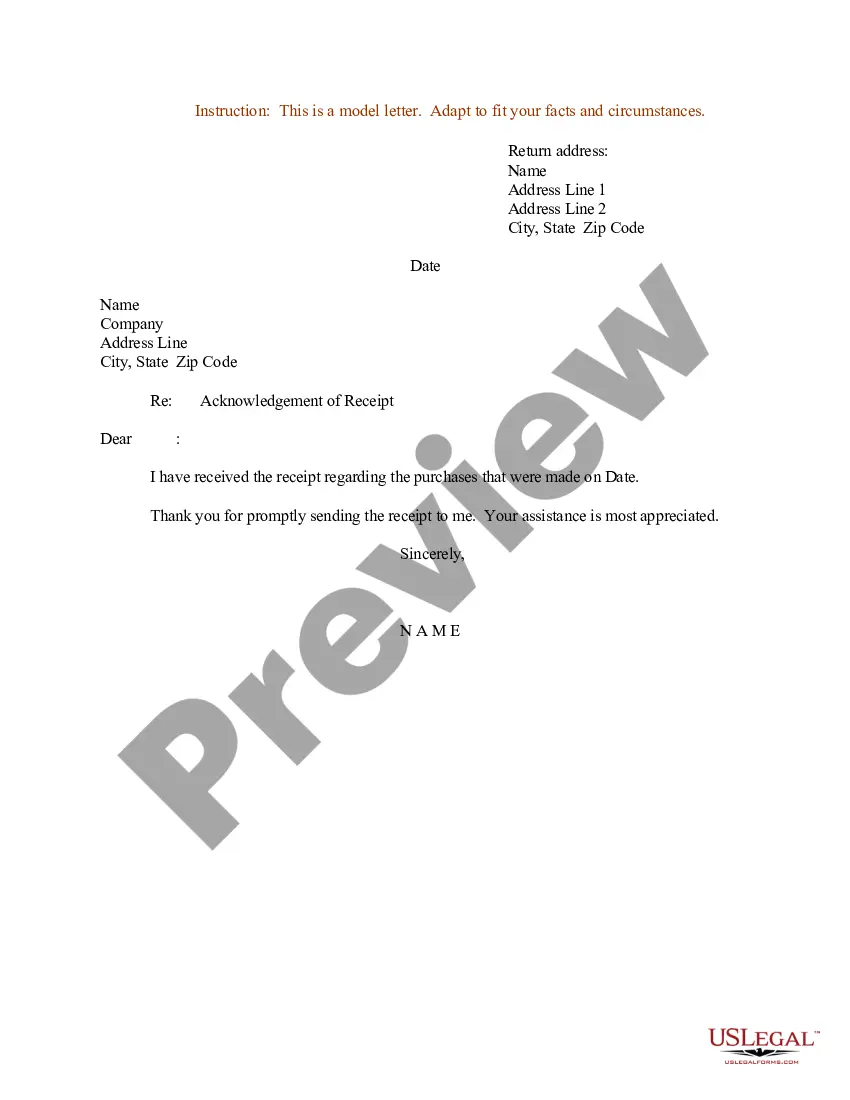
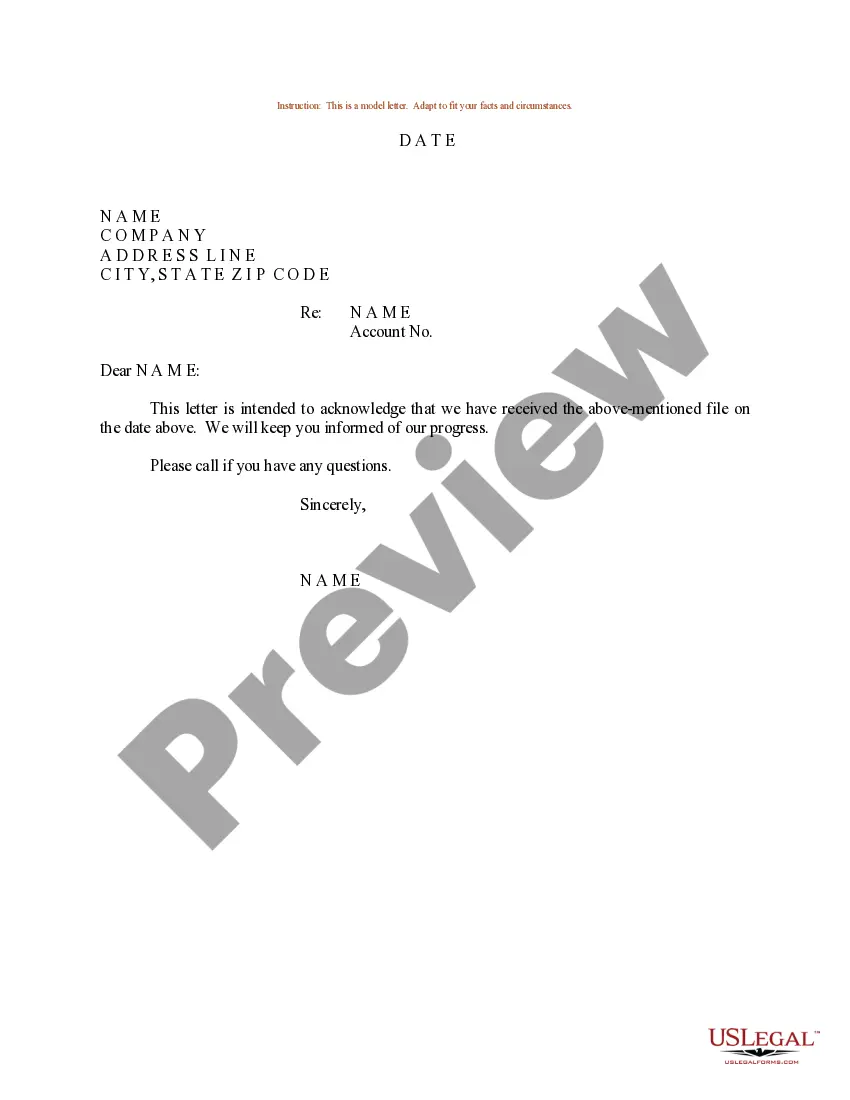
Acknowledgment of receipt for a document Dear (Recipient's name), I am writing to confirm that I have received the Document Name on Date. Thank you for sending this document. I will review it thoroughly and will get back to you if any further information is required.
Acknowledgment of receipt for payment I hope you are well. I am writing to confirm that we have received your payment of Amount on Date. Thank you for your prompt payment. If you require a formal receipt or have any further questions, please let us know.
How to write an acknowledging receipt Begin with a professional letterhead or logo. You can begin by including the letterhead or logo of your employer . Include the acknowledgment statement. Sign the document. Describe what to do next. Add your contact information. Proofread and edit.